
You know what they don’t make? Floorboards for musicians that are big enough to accommodate today’s larger effects/guitar foot controllers for musicians who do double-duty in their bands by playing and singing. Setting up the gear for both a band player and a singer is a job for two persons already. When you play and sing, you do both setups. Adding new gear to this large setup requires simplification of the floor controller area into a single manageable entity. Like I said, they don’t make such a thing. You must create it yourself.
We get about 10 minutes to set up in Los Angeles area clubs. I realized that if I was going to add any new gear to my live rig, I would have to account for the setup fitting into the 10-minute limit. Otherwise, you’ll be playing a 3-song set between setup and breakdown. I recently added the TC Helicon VoiceLive, Behringer Shark Feedback Destroyer, and AKG Guitar Bug Wireless to my rig.
My setup was already pretty complex
since I am the guitarist and singer for my band, XONE.
I knew that I would have to create a custom floorboard to mount all my new gear on, as well as, my current Line 6 FBV Floor Controller. So I went to Home Depot (hardware store)
and built myself a custom floorboard after walking the aisles for
3 hours searching for the right parts. I used a conglomeration
of bathroom hardware and fence hardware to create something
that just doesn't exist - a custom floorboard for multiple, large pedals.
I basically took some 3/4 inch plywood and cut a 44.5 inch long by 19 inch wide piece that I painted Black. The first pic shows an overview of the entire board. It shows the VL, Behringer Shark, Line 6 FBV Guitar Foot Controller, AKG Wireless Receiver, Belkin Surge Protector, and assorted AC Power wall warts for the different components. I used two bathroom towel holders, with the bottom hooks Dremeled off, to create separate cleats to wrap my extension cord and Mic cable around for easy transport. Tie Wraps tied to small, metal L brackets keep everything in place. I can turn the whole floorboard upside down and nothing falls off or dangles
It also includes 2 handles so I can carry the floorboard
like a surfboard under my arm.
The second pic shows a closer view of the VoiceLive area with the VoiceLive and Shark next to each other. I've used simple bathroom clothes hangers wrapped in gaffer's tape to keep the VoiceLive's front edge in place, but still allow me to step on the switches.
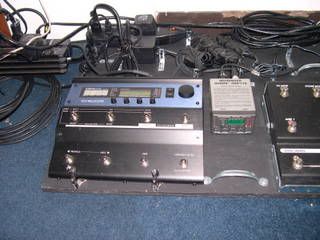
The third pic is a close overview of the VoiceLive's area.
It shows the L brackets used to keep the VL in place at the rear
using Tie Wraps.
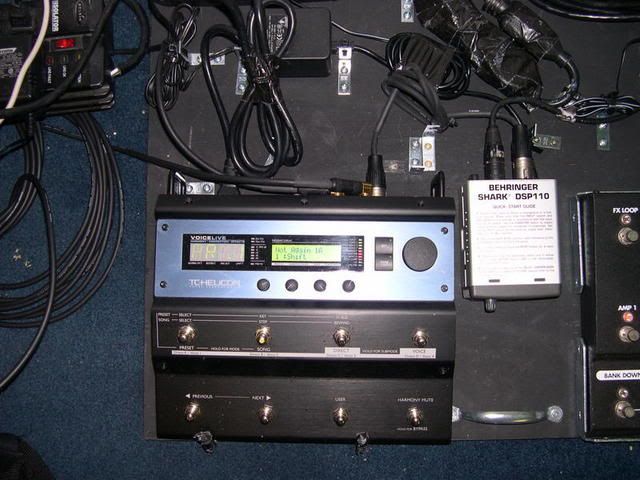
The fourth pic shows a side view of the entire Custom Floorboard.
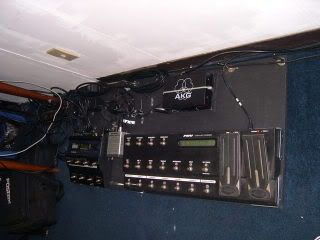
The fifth pic shows the VoiceLive pulled back a bit from the clothes hooks used to keep the VL's front edge in place.
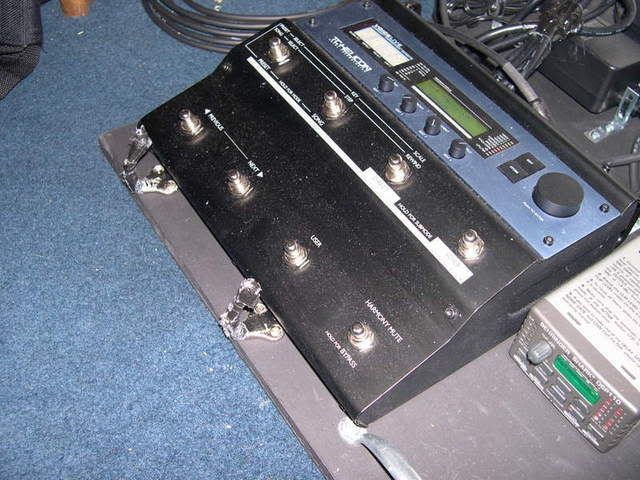
Hopefully these pictures illustrate how one can simplify a complex Stomp Setup into an easily manageable system for live setup.

2 comments:
hello i talk from italy...i have questions for behringer shark and VL...
your mic connect input in first into the shark or first into VL???
or you use VL how line???
my volume gain in VL meter dispaly after connect into Shark and loop in VL is very hard...excuse me my language do you undestand my questions????Hello i see this questions is very important....GOOD SOUND HI PIERLUIGI
Hi just reading your comments on your site regarding floorboard.checkout the Diago boards. I have a "tourman" which is huge and will swallow everything you have. good quality as well. hope this helps - Keith keith@bowers1.com www.kingpintheband.com
Post a Comment